Using C++ in Jupyter Notebooks on Windows

I run WIN11 and I want to do some tests in C++ in Jupyter Notebooks. I cannot easily install the xeus-cling kernel with conda under the WIN11 host because it is based on cling + LLVM blah blah blah…
I could use a Docker image but here I will use WSL
1. Check
Open a win terminal with Powerhell
wsl --list --verbose
You should see something similar to
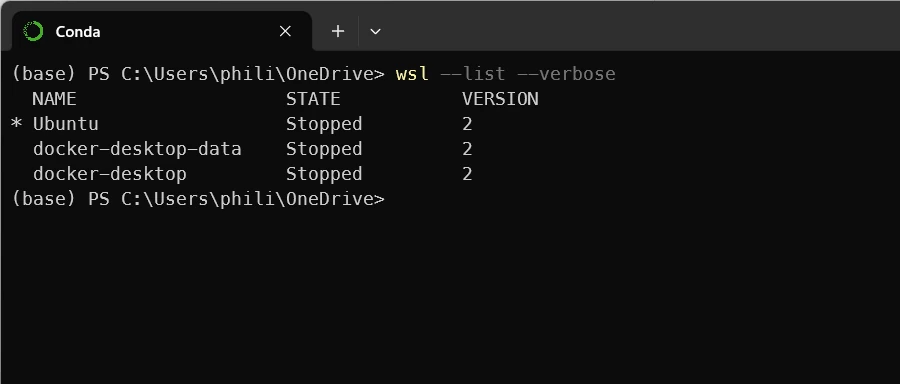
If you don’t see Ubuntu, activate WSL2 on your WIN11 host (shame on you if it was not yet activated 😁) and install Ubuntu.
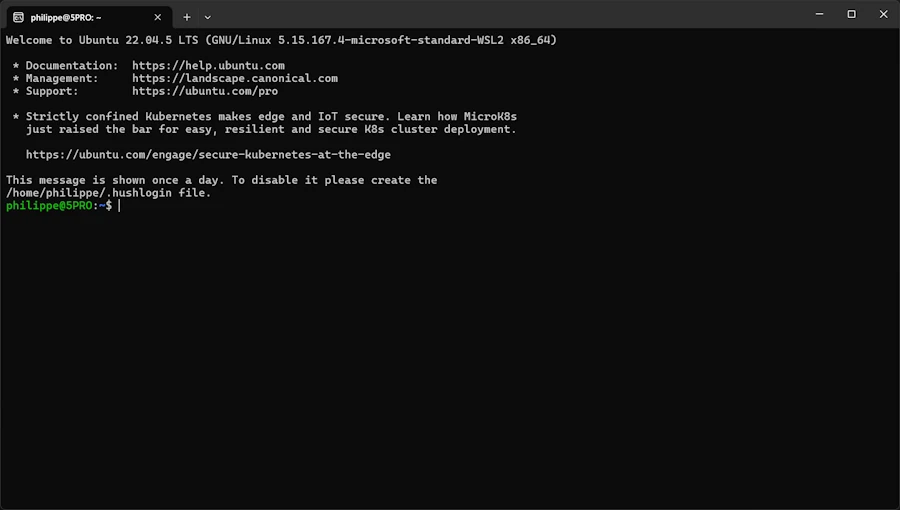
2. Run Ubuntu
3. Install Miniconda in Ubuntu
wget https://repo.anaconda.com/miniconda/Miniconda3-latest-Linux-x86_64.sh
bash Miniconda3-latest-Linux-x86_64.sh
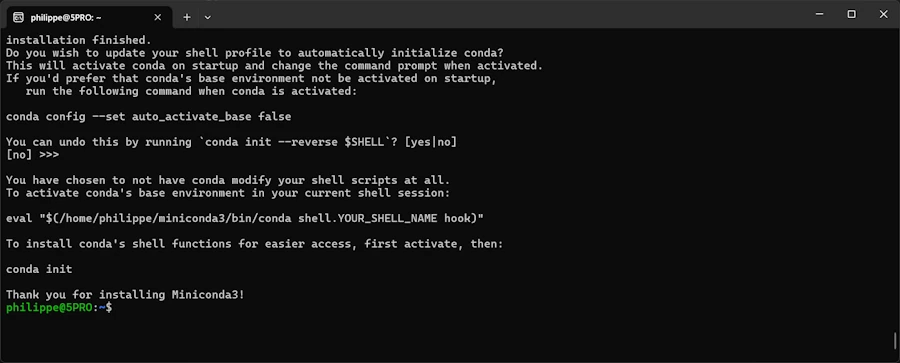
Keep in mind
At one point you will see a message saying something like :
If you’d prefer that conda’s base environment not be activated on startup, run the following command when conda is activated:
conda config --set auto_activate_base falseYou can undo this by runningconda init --reverse $SHELL
4. Check conda
conda --version
If needed
export PATH="$HOME/miniconda3/bin:$PATH"
source ~/.bashrc
conda --version
5. Create conda virtual env & install
conda create -n cpp_jupyter -c conda-forge xeus-cling
conda activate cpp_jupyter
conda install -c conda-forge jupyterlab
For what I can remember
- I used
conda initat one point - I may have had to restart the terminal
6. Run Jupyterlab in Ubuntu
jupyter lab --no-browser --ip=0.0.0.0
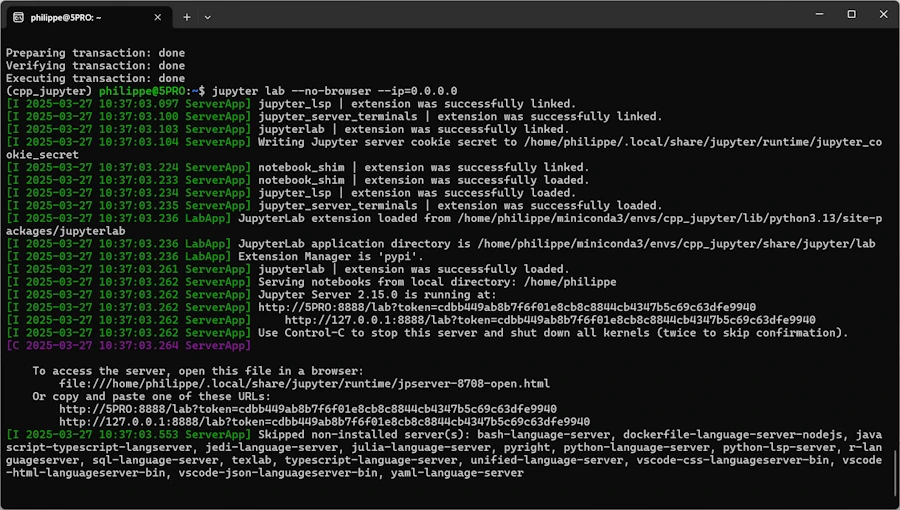
Click on the line that says : ` http://127.0.0.1:8888/lab?token=cdbb449ab8b7f6f01e8cb8c8844cb4347b5c69c63dfe9940`
The browser should be opened on the WIN11 host
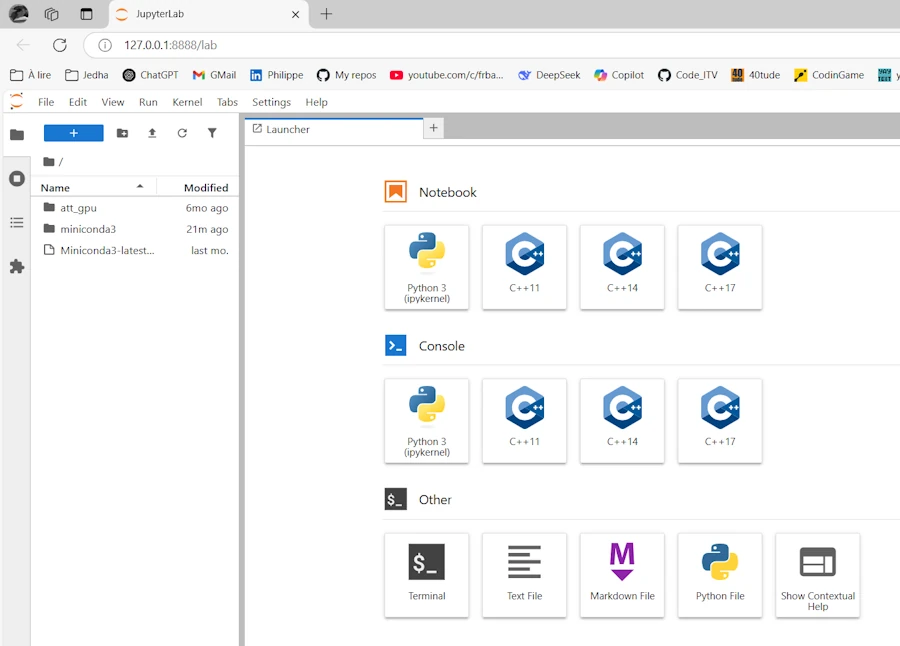
Select C++17 and live your live…
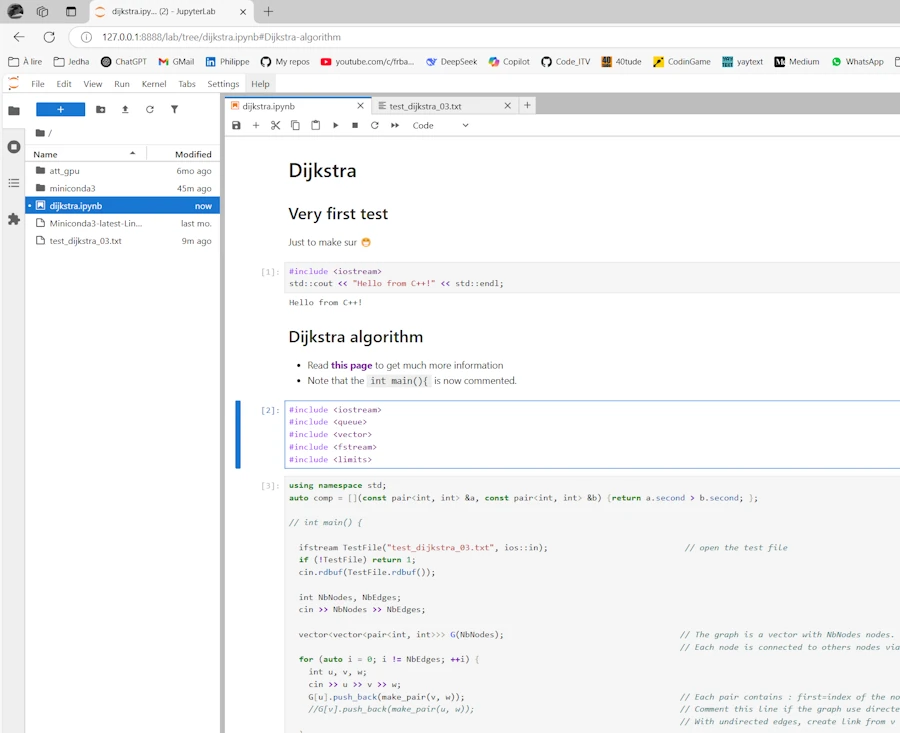
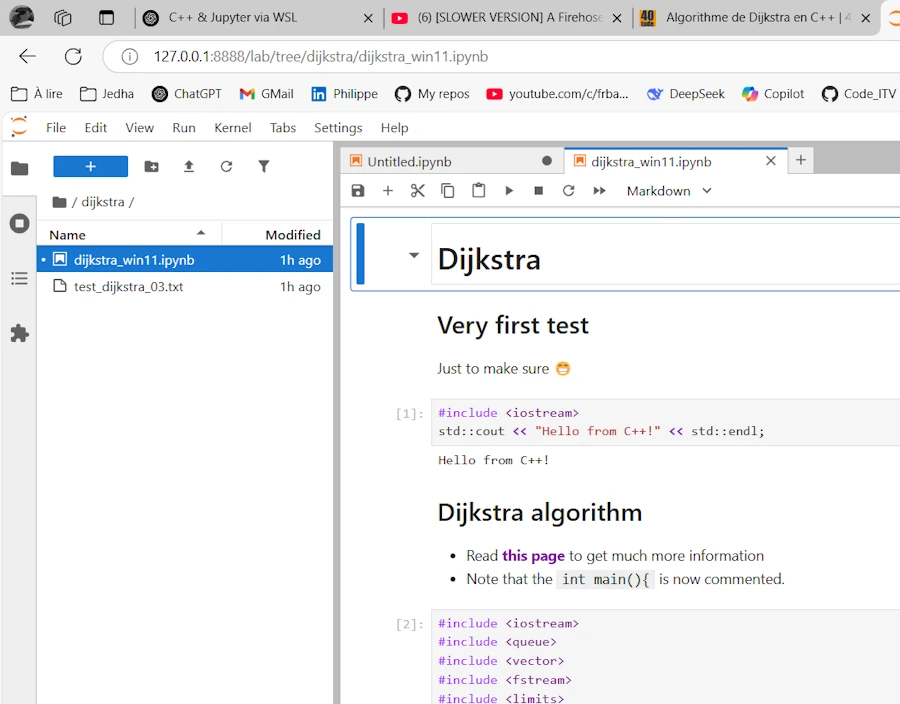
In the notebook above I first make a simple test (Hello…) then run the Dijkstra algorithm (read this page). Two points :
- There is no
main()function - So far, the notebook and the
test_dijkstra_03.txtfile which is opened by the C++ code are both on the Ubuntu host
What if…
I want to keep the Notebook on the WIN11 host ?
From the WIN11 host I can access my Ubuntu home directory via : \\wsl.localhost\Ubuntu\home\philippe
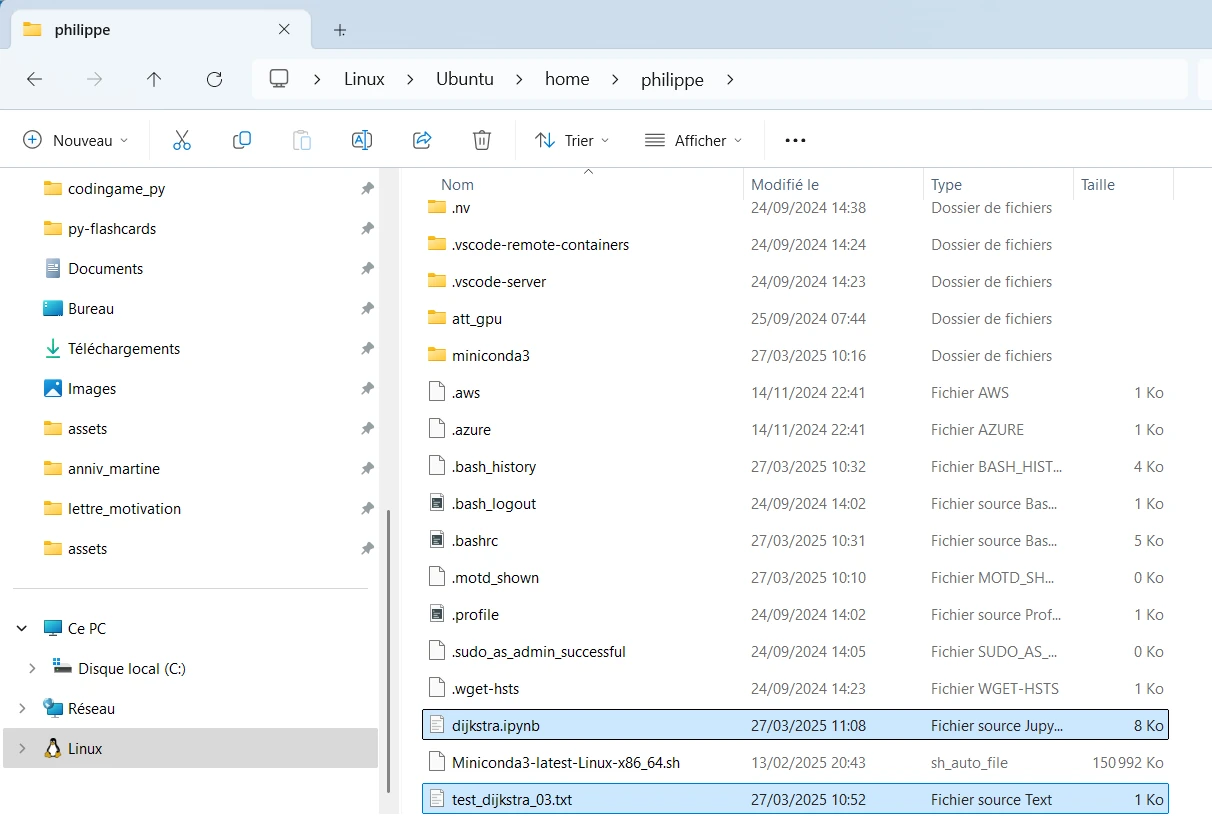
First (for testing purpose) I copy and paste both files (.ipynb and .txt files) in a new directory on the WIN11 host. Just to proove I’m not cheating I rename the Jupyter Notebook.
Then I File/Shut Down Jupyter because this instance is no longer useful. There is no need to CTRL+C in the terminal.
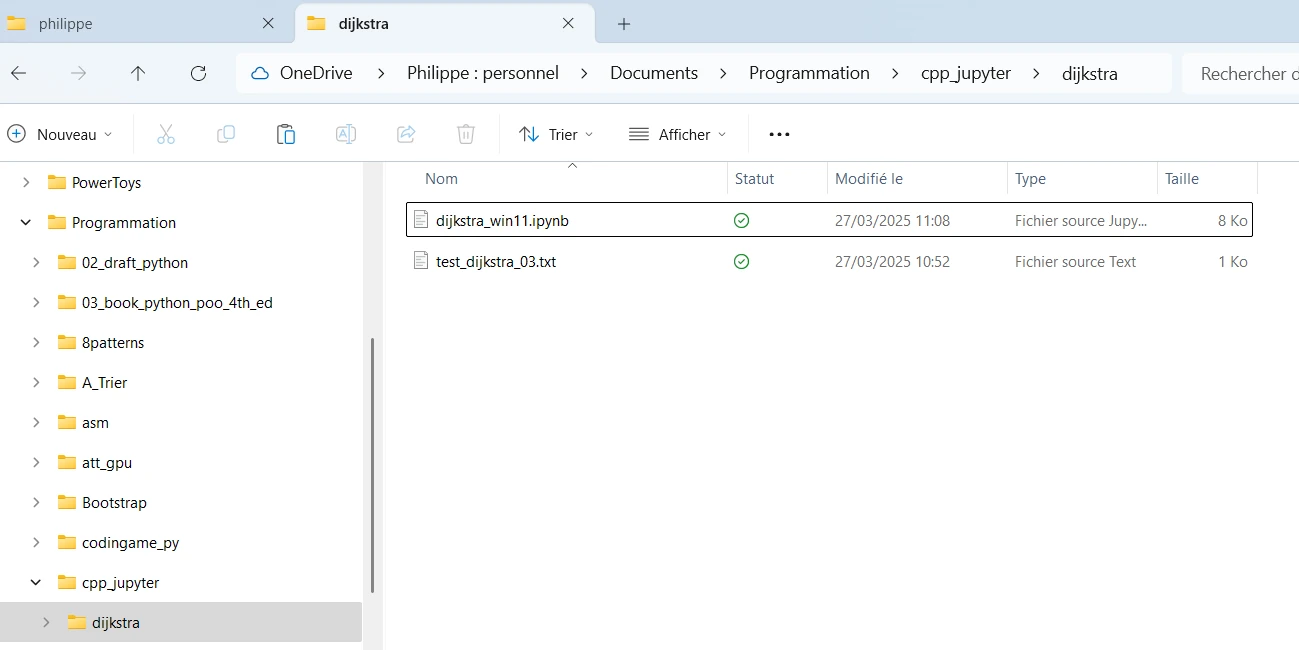
From the Ubuntu terminal I can access the files on the WIN11 host with : ls /mnt/c/Users/phili/OneDrive/Documents/Programmation/cpp_jupyter/dijkstra/
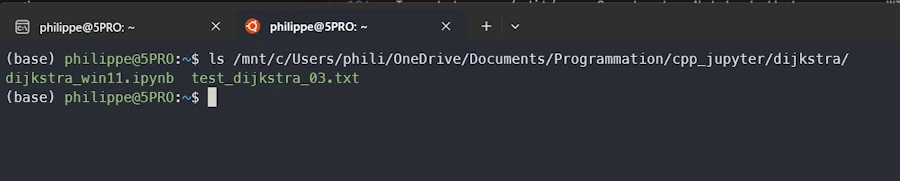
So, I move to the directory cd /mnt/c/Users/phili/OneDrive/Documents/Programmation/cpp_jupyter and run Jupyter from there :

This is exactly exactly what I want :
- On the left hand side I see the directories and below I clicked on
dijkstrato show the files - I can edit/copy/debug/create…
- Thsi is similar to the Docker experience
Idea
- From the home directory on Ubuntu launch VSCode (
code .) - Open the
.bashrcfile - Add the line below
alias jupytercpp='cd "/mnt/c/Users/phili/OneDrive/Documents/Programmation/cpp_jupyter" && jupyter lab --no-browser --ip=0.0.0.0'
- Save and exit from VSCode
source ~/.bashrc- Now I can run Jupyter from the right directory by invoking
jupytercpp
What is next ?
- I’m starting to learn Rust (👍)
- Obviously the next step is to follow a similar process the kernel
evcxr_jupyter - Find here checklist for Rust
How to update ?
Update of JupyterLab
- Make sure JupyterLab server is closed
- Under the Ubuntu session
conda activate multi_jupyter # the env named cpp_jupyter above
conda update -n base -c defaults conda
conda update -c conda-forge jupyterlab
jupyter lab --version
Update of the C++ Kernel
Check latest version on this page
Check current version
- In the terminal
conda list xeus-cling
Update C++ Kernel
conda update -c conda-forge xeus-cling