C++ with VS Code & Clang
Table of Contents
- Introduction
- Configuration of the C++ context
- Compile a debug version with VS Code
- Debugging with VS Code
- Compile a release version with VS Code
- Linking with Windows libraries
Introduction
Bonjour. Today, under Windows, we will use VS Code to compile and link C++ code with Clang.
- Windows is running
- Install VS Code. In April 2018, I use 1.21.1.
- Launch VS Code and then install the C/C++ for Visual Studio Code extension. Use the extension icon on the left or press CTRL + SHIFT + X
- Install LLVM. In April 2018 you should install LLVM 6.0 or higher. During installation make sure to check the box saying “Make LLVM Tools available in current user path” or similar. By default LLVM tools are NOT in your path.
- Install Visual Studio Build Tools. Scroll down the page, the link to the Build Tools is very close to the bottom of the page. Again, this is not a Visual Studio Express 2017 installer. Instead this is a package which provides all the tools and libs you need to compile and link code under Windows. Among other things it provides the libs that are not coming with the LLVM installer. Again this pack does NOT provide Visual Studio IDE nor VS Code.
From the tooling stand point we are ready. Let’s set up the “project”.
- With file Explorer create a directory where the files of the project will take place.
- Don’t worry, nothing will be created outside this directory. If at one point you get lost, delete everything except the source code (
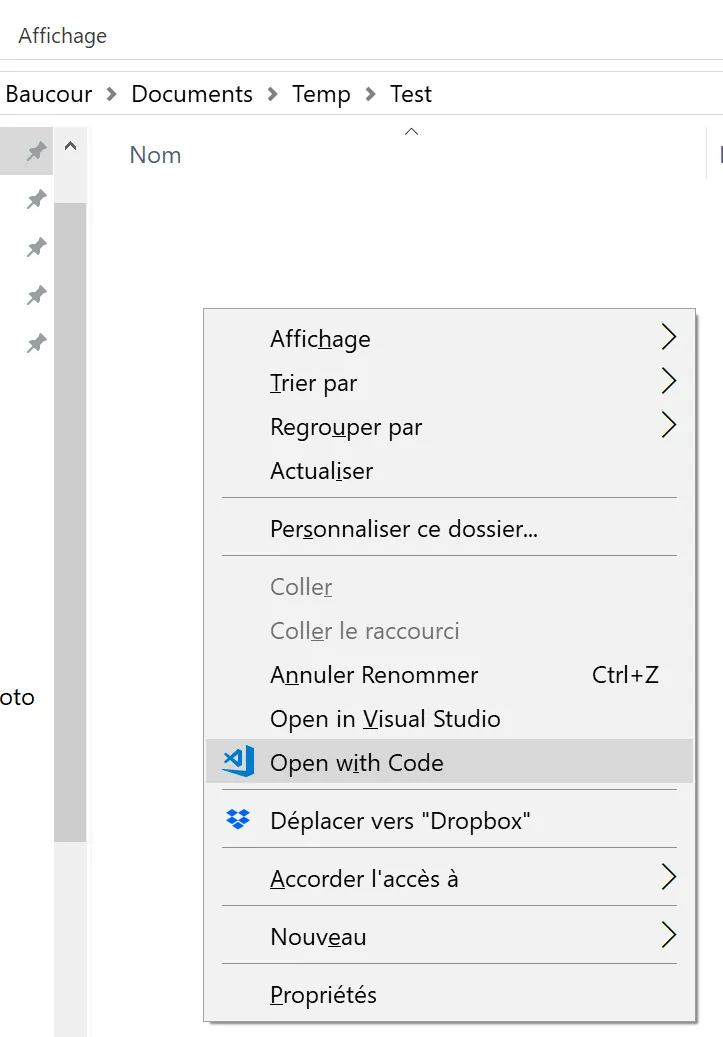
main.cpp, see below) and start again the checklist. - Once the directory is created in file Explorer, open it, right click then select “Open with Code” option.
- Once in VS Code, create a new file, copy and paste the code below
#include <iostream>
#include <string_view>

int main(){
    std::string_view s = "Greetings professor FALKEN, how about a nice game of chess?\n";
    std::cout << s;
    getchar();
    return 0;
}
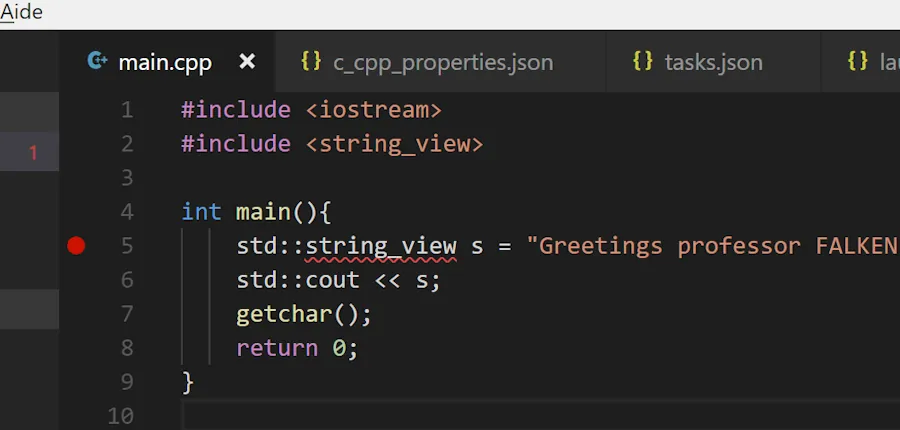
VS Code should look like this :

- Save the file as
main.cppin the current workspace (the directory from where you launched VSCode)
Configuration of the C++ context
- Press F1 and then type “cpp” in the bar
- Select the
C/Cpp : edit configurationoption

- An auto-generated
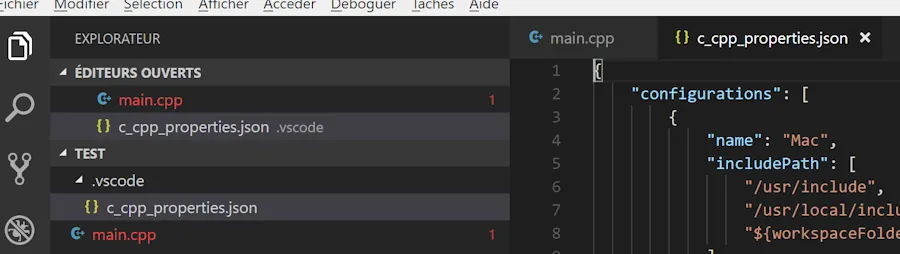
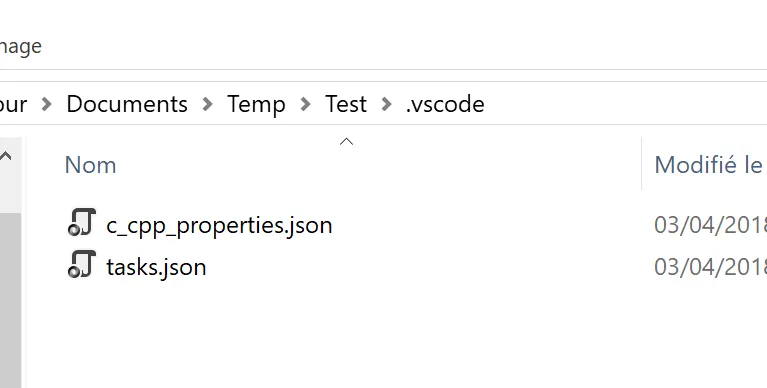
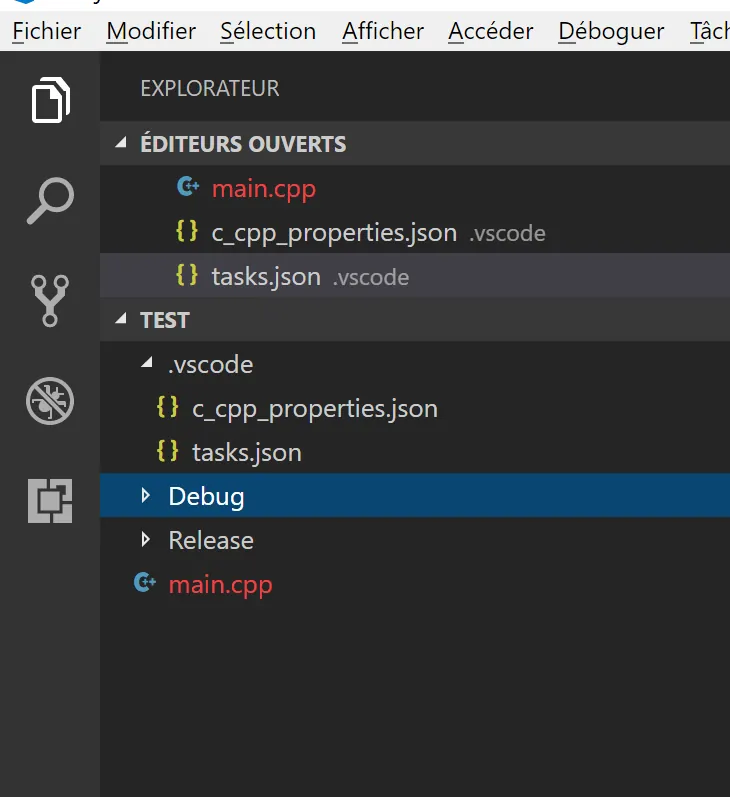
c_cpp_properties.jsonfile should appear. Save it pressing CTRL + S - At this point a
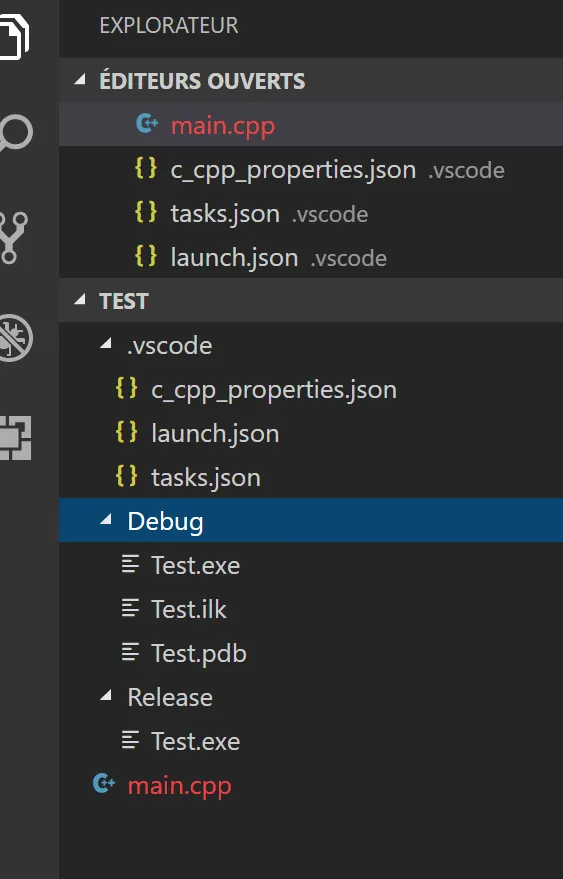
./.vscodesubdirectory should be created.- We can see it in the file tree on the left hand side of VS Code as well as in file Explorer. Here is how it looks in VS Code
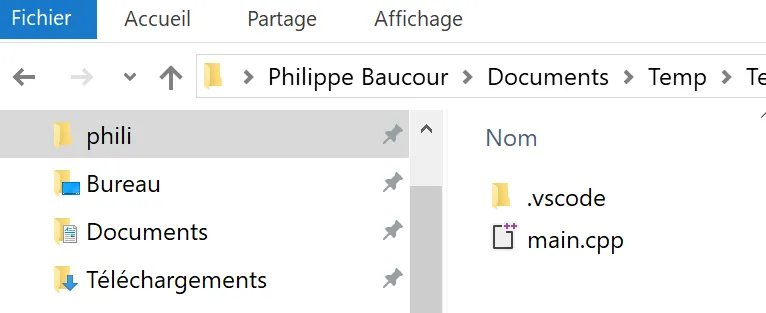
- Here is what happen in file Explorer.
Compile a debug version with VS Code
- Press ALT+T then select the
Configure Default Build Taskoption - Select the
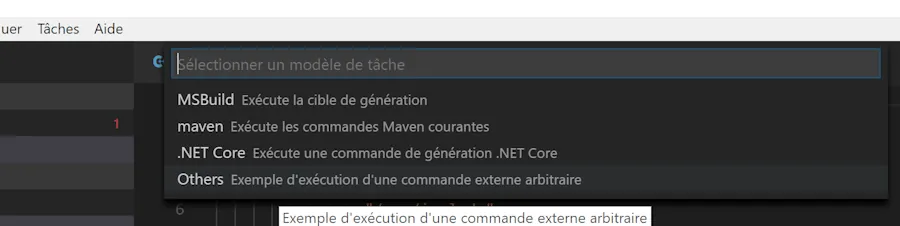
Create tasks.json file from a templateoption - Select
Otherssince we don’t want to use MSBuild, maven etc. to build our application
- Modify the generated file as follow
{
  "version": "2.0.0",
  "tasks": [
    {
      "label": "clang-cl Debug",
      "type": "shell",
      "command": "clang-cl",
      "args": [
        "main.cpp",
        "/Z7 /MDd /W4 /EHsc /std:c++17 /Od",
        "/o Debug/Test.exe",
      ],
      "group": {
        "kind": "build",
        "isDefault": true
      }
    },
    {
      "label": "clang-cl Release",
      "type": "shell",
      "command": "clang-cl",
      "args": [
        "main.cpp",
        "/MD /W4 /EHsc /std:c++17 /O2",
        "/o Release/Test.exe",
      ],
    }
  ]
}
With VS Code 1.22.1 and higher you should set one arg per line
Pay attention on how the spaces are escaped on the /o and /link line. At the end, tasks.json should look like as follow :
{
  "version": "2.0.0",
  "tasks": [
    {
      "label": "clang-cl Debug",
      "type": "shell",
      "command": "clang-cl",
      "args": [
        "main.cpp",
        "/Z7",
        "/MDd",
        "/W4",
        "/EHsc",
        "/std:c++17",
        "/Od",
        "/o' 'Debug/Test.exe",
        "/link' 'User32.lib"
      ],
      "group": {
        "kind": "build",
        "isDefault": true
      }
    },
    {
      "label": "clang-cl Release",
      "type": "shell",
      "command": "clang-cl",
      "args": [
        "main.cpp",
        "/MD",
        "/W4",
        "/EHsc",
        "/std:c++17",
        "/O2",
        "/o' 'Release/Test.exe",
        "/link' 'User32.lib"
      ],
    }
  ]
}
- Save the
tasks.jsonfile with CTRL + S. The file will be saved in the./.vscodesubdirectory
- Create a
./Debugand a./Releasesubdirectories in the initial directory. This can be done with VS Code, with file Explorer or a terminal within VS Code.
- Press CTRL + SHIFT + B to compile and link the debug version of the code
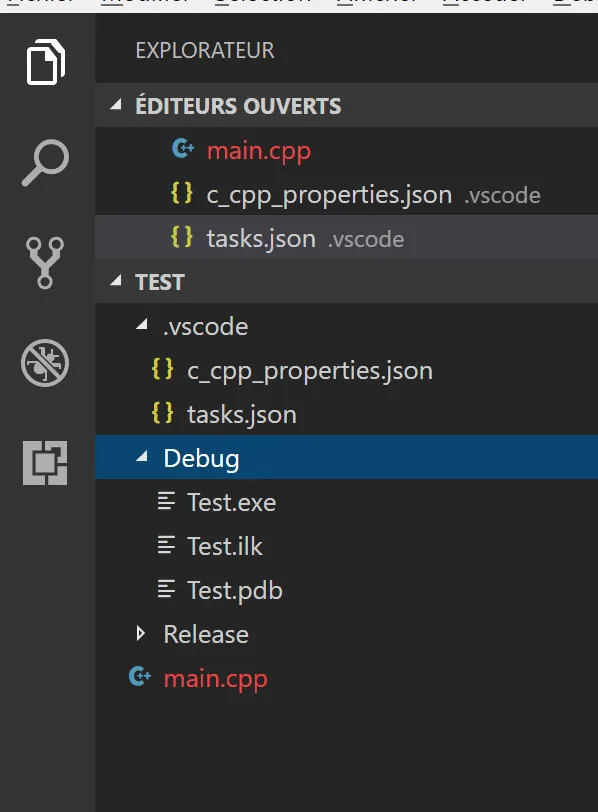
- 3 new files should appear in the
./Debugsubdirectory (Test.exe,.ilkand.pdb)
Debugging with VS Code
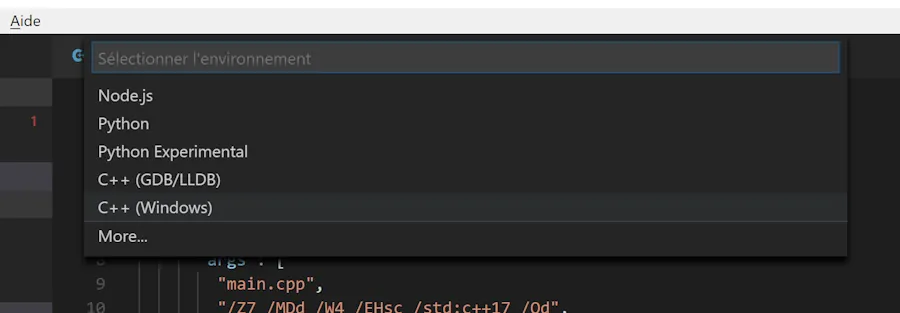
- In order to debug the code, press F5
- Select “C++ (Windows)” among the different options
- VS Code will generate a default launch.json file. Modify the file as follow
{
  "version": "0.2.0",
  "configurations": [
    {
      "name": "(Windows) Launch",
      "type": "cppvsdbg",
      "request": "launch",
      "program": "${workspaceFolder}/Debug/Test.exe",
      "args": [],
      "stopAtEntry": false,
      "cwd": "${workspaceFolder}",
      "environment": [],
      "externalConsole": true
    }
  ]
}
- Save the file with CTRL + S. A
launch.jsonfile is created in the./.vscodesubdirectory - In the
main.cppsource code set a breakpoint on line 5 for example (click in the left margin)
- Press F5
- The code should start and stop on the breakpoint
- Strike F10 to go one step further. The string_view variable
sshould be initialized.
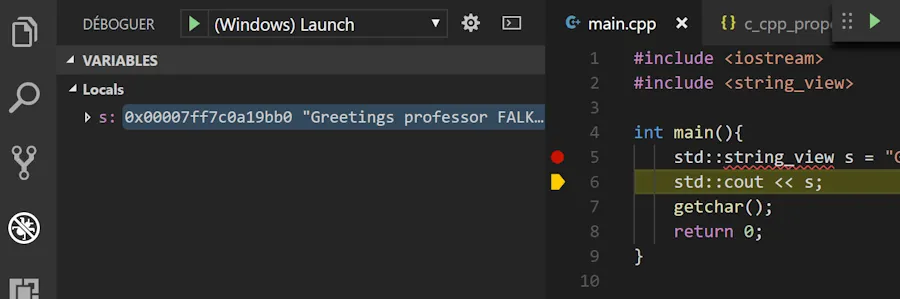
- At this point you can either press F5 to continue or to press SHIFT+F5 to stop the debug session.
Compile a release version with VS Code
- Press ALT+T
- Select Execute the task
- Select
clang-cl Releasein the list - Press
Enteron the next option Test.exeshould be generated in the./Releasesubdirectory
Linking with Windows libraries
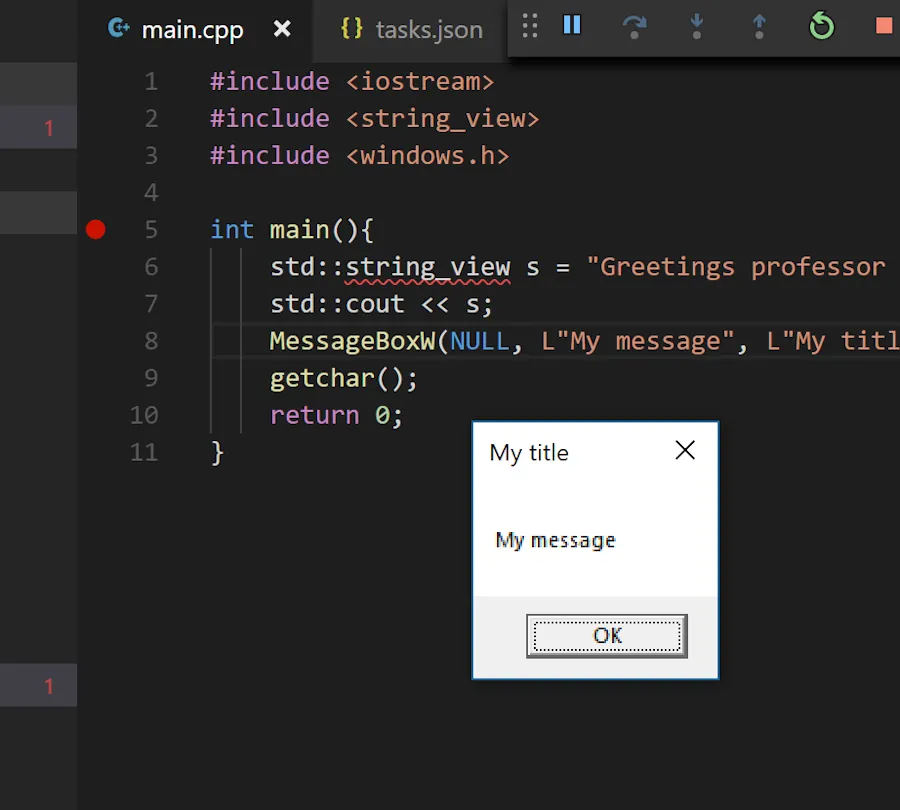
- Modify main.cpp as follow
#include <iostream>
#include <string_view>
#include <windows.h>

int main(){
    std::string_view s = "Greetings professor FALKEN, how about a nice game of chess?\n";
    std::cout << s;
    MessageBoxW(NULL, L"My message", L"My title", MB_OK);
    getchar();
    return 0;
}
- If you press CTRL + SHIFT + B you can’t link the code because some library are missing

- Edit the
tasks.jsonfile and modify it as follow
{
  "version": "2.0.0",
  "tasks": [
    {
      "label": "clang-cl Debug",
      "type": "shell",
      "command": "clang-cl",
      "args": [
        "main.cpp",
        "/Z7 /MDd /W4 /EHsc /std:c++17 /Od",
        "/o Debug/Test.exe",
        "/link User32.lib"
      ],
      "group": {
        "kind": "build",
        "isDefault": true
      }
    },
    {
      "label": "clang-cl Release",
      "type": "shell",
      "command": "clang-cl",
      "args": [
        "main.cpp",
        "/MD /W4 /EHsc /std:c++17 /O2",
        "/o Release/Test.exe",
        "/link User32.lib"
      ],
    }
  ]
}
- Save the file CTRL + S
- Press F5 to run a debug session
- A message box should appear on the screen when you execute line 8.
In order to create a Release version of the code with the message box you follow exactly the same steps as before :
- ALT+T
- Select
Execute the task... - Select
clang-cl Release, press ENTER
You are all set. Enjoy 😁