C++ with VSCode, vcpkg & CMake
Table of Contents
Introduction
vcpkg is a package manager for acquiring and managing libraries. More information are available on this page.
April 2021. The following software are installed on my PC
- Windows 10 20H2 19042.870 (WIN key, type winver)
- VSCode 1.55.2 (WIN + R, type powershell, type
code --version) - Microsoft compiler cl version 19.28.29913. You can either install Visual Studio or Build Tools for Visual Studio.
- Git version 2.31.1.windows.1 (in the previous console type
git --version) - CMake version 3.20.1 (in the previous console type
cmake --version). If you want to learn more about CMake you can start here.
Install vcpkg
Open a PowerShell console (WIN + X, I)
Move to a directory which will host the vcpkg directory.
cd C:\Users\phili\Documents
git clone https://github.com/Microsoft/vcpkg.git
cd vcpkg
.\bootstrap-vcpkg.bat
Launch Windows PowerShell as Administrator (WIN + X, A)
Reach the previous directory
.\vcpkg integrate install
Close the PowerShell Admin console and switch back to the non-admin console. Type the following lines to find and install sqlite package.
.\vcpkg search sqlite
.\vcpkg install sqlite3:x64-windows
On a non-English configuration you may have to install the English package for Visual Studio. To do so:
- Run Visual Studio Installer.
- Check the language tab and add English.
- Once the English Pack is installed, restart the
.\vcpkg install sqlite3:x64-windowscommand

Note
If you want to :
- List which libs are installed:
./vcpkg list - Update vcpkg. Reach vcpkg directory and type
git pulland run again the bootstrapper (.\bootstrap-vcpkg.bat) - Remove vcpkg. From vcpkg directory, execute
./vcpkg integrate removeand then delete vcpkg directory. - Learn more. Read the vcpkg documentation
Build a Debug version
Create a directory to host the application and launch VSCode from there.
cd C:\Users\phili\Documents\Temp
mkdir TestSQL-vcpkg
cd TestSQL-vcpkg
code .
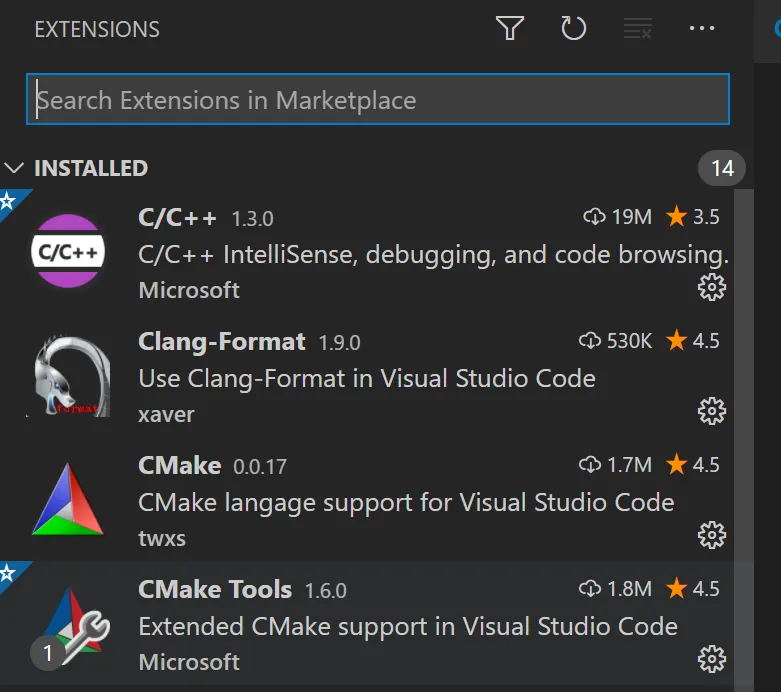
In VSCode, make sure C/C++, CMake and CMake Tools extensions are installed. Open the Extensions pane (CTRL + SHIFT + X) and check what is missing. See below:
Copy and paste the code below in a main.cpp file and save it.
#include <sqlite3.h>
#include <iostream>

int main(void) {
  std::cout << sqlite3_libversion() << '\n';
  return 0;
}
Once this is done, modify the VSCode settings.json. You will have to do it once. Indeed this is how we let VS Code know about CMake.
Anyway, to edit, settings.json
- Hit CTRL + comma
- To switch in text mode, click the first of the 3 icons on the top right-hand side (the one looking like a file)

At the end of the last line add a “,” then add a line like this one. Obviously, the path to the vcpkg.cmake file needs to be customized according to your configuration.
"cmake.configureSettings": {
        "CMAKE_TOOLCHAIN_FILE": "C:/Users/phili/Documents/vcpkg/scripts/buildsystems/vcpkg.cmake"
    }
Just to make sure, here is the content of my settings.json as it is today.
{
    "editor.tabSize": 2,
    "explorer.confirmDelete": false,
    "explorer.confirmDragAndDrop": false,
    "editor.minimap.enabled": true,
    "editor.minimap.renderCharacters": true,
    "zenMode.centerLayout": false,
    "python.linting.enabled": true,
    "python.linting.pylintEnabled": true,
    "workbench.iconTheme": "material-icon-theme",
    "[typescript]": {
        "editor.defaultFormatter": "vscode.typescript-language-features"
    },
    "liveServer.settings.CustomBrowser": "chrome",
    "[cpp]": {
        "editor.defaultFormatter": "ms-vscode.cpptools"
    },
    "editor.fontFamily": "'Cascadia Code PL', Consolas, 'Courier New', monospace",
    "editor.fontLigatures": true,
    "window.zoomLevel": 0,
    "editor.mouseWheelZoom": true,
    "debug.console.fontSize": 12,
    "editor.fontSize": 12,
    "cmake.configureSettings": {
        "CMAKE_TOOLCHAIN_FILE": "C:/Users/phili/Documents/vcpkg/scripts/buildsystems/vcpkg.cmake"
    },
    "cmake.configureOnOpen": true
}
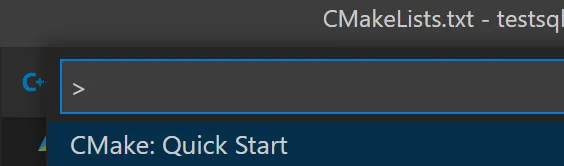
CTRL + SHIFT + P and type CMake then select CMake Quick Start
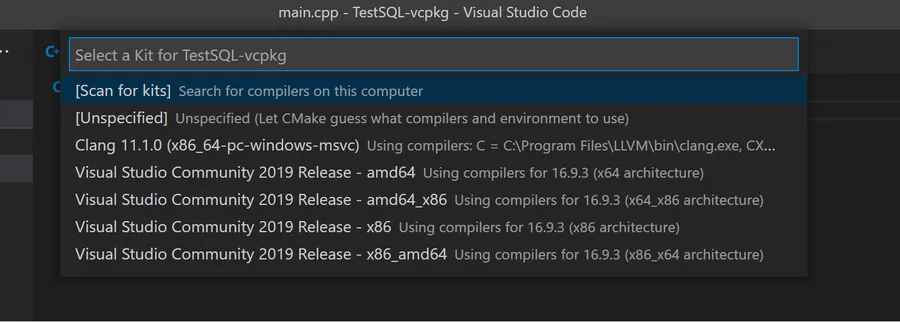
When asked to select a target, pick Visual Studio Community 2019 Release - amd64 for example. Remember initially we installed sqlite3:x64-windows
Later, you will be asked for the name of the project (TestSQL in my case) and the kind of project (executable or lib). Here, select executable.
Here is the content of the generated CMakeLists.txt you will get
cmake_minimum_required(VERSION 3.0.0)
project(TestSQL VERSION 0.1.0)
include(CTest)
enable_testing()
add_executable(TestSQL main.cpp)
set(CPACK_PROJECT_NAME ${PROJECT_NAME})
set(CPACK_PROJECT_VERSION ${PROJECT_VERSION})
include(CPack)
This should be simplified and modified as follow. Pay attention to the TAB before the paths : c:/Users/phili/Documents/...
cmake_minimum_required(VERSION 3.0.0)
project(TestSQL VERSION 0.1.0)
INCLUDE_DIRECTORIES(
  c:/Users/phili/Documents/vcpkg/installed/x64-windows/include/
)

LINK_DIRECTORIES(
  c:/Users/phili/Documents/vcpkg/installed/x64-windows/lib/
)
add_executable(TestSQL main.cpp)
TARGET_LINK_LIBRARIES(TestSQL
  sqlite3
)
Later, if the project needs additional libraries, just add their names after sqlite3 and insert a space between them.
TARGET_LINK_LIBRARIES(TestSQL
  sqlite3 mylib blabla_lib
)
Everything seems to be configured. CTRL + SHIFT + P then type CMake and select CMake: Build. You can also strike F7 which is much faster.

If everything went well, you should have a Debug directory hosting a TestSQL.exe debug version.
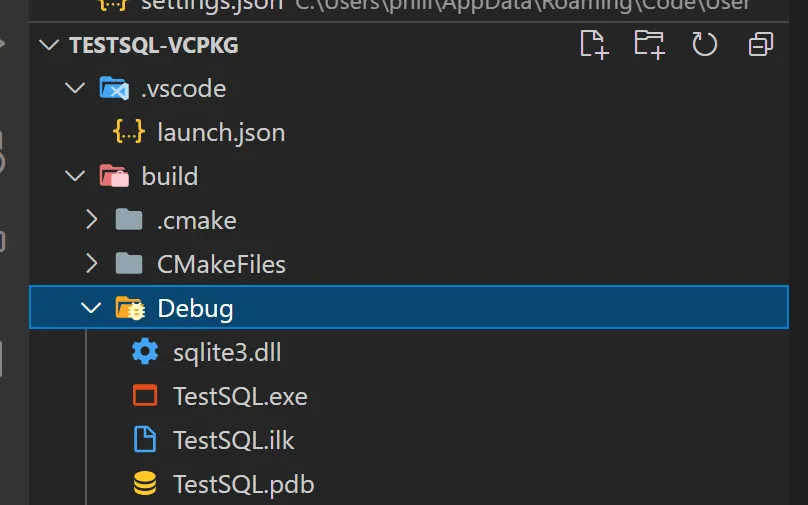
Debug
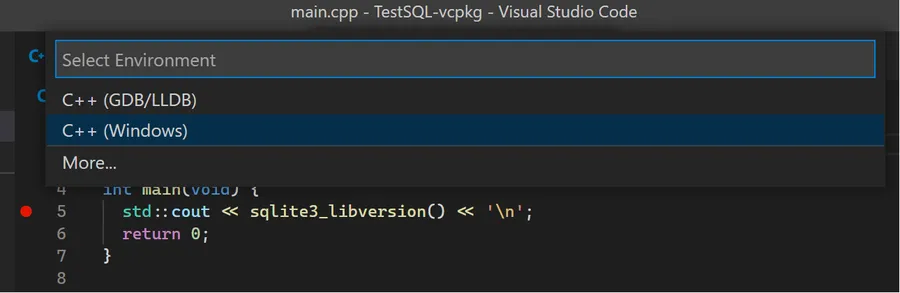
It is time to Debug our code. Set a breakpoint on line 5 and then strike F5. When asked, select C++(Windows).
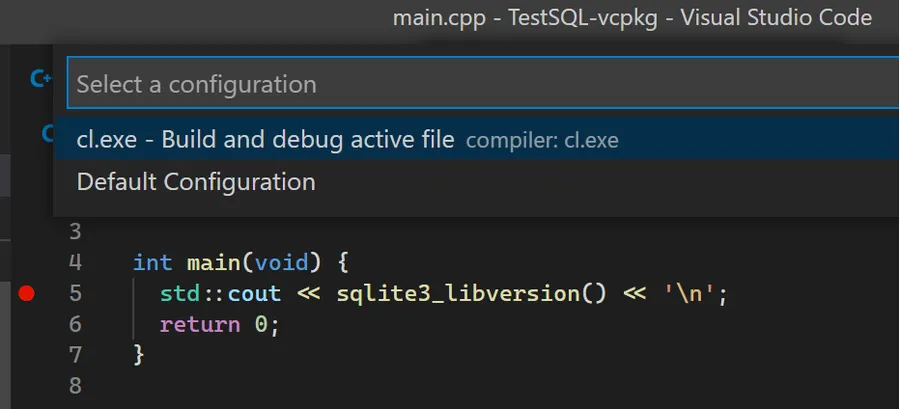
Later select cl.exe
Here is the content of the initial launch.json file you may get.
{
  // Use IntelliSense to learn about possible attributes.
  // Hover to view descriptions of existing attributes.
  // For more information, visit: https://go.microsoft.com/fwlink/?linkid=830387
  "version": "0.2.0",
  "configurations": [
    {
      "name": "cl.exe - Build and debug active file",
      "type": "cppvsdbg",
      "request": "launch",
      "program": "${fileDirname}\\${fileBasenameNoExtension}.exe",
      "args": [],
      "stopAtEntry": false,
      "cwd": "${workspaceFolder}",
      "environment": [],
      "console": "externalTerminal",
      "preLaunchTask": "C/C++: cl.exe build active file"
    }
  ]
}
Now, here is the modified version where preLaunchTask is commented and where ${fileBasenameNoExtension} is replaced by /build/Debug/TestSQL.exe. Indeed, this where the executable has been generated.
{
  // Use IntelliSense to learn about possible attributes.
  // Hover to view descriptions of existing attributes.
  // For more information, visit: https://go.microsoft.com/fwlink/?linkid=830387
  "version": "0.2.0",
  "configurations": [
    {
      "name": "cl.exe - Build and debug active file",
      "type": "cppvsdbg",
      "request": "launch",
      "program": "${workspaceFolder}/build/Debug/TestSQL.exe",
      "args": [],
      "stopAtEntry": false,
      "cwd": "${workspaceFolder}",
      "environment": [],
      "console": "externalTerminal",
      //"preLaunchTask": "C/C++: cl.exe build active file"
    }
  ]
}
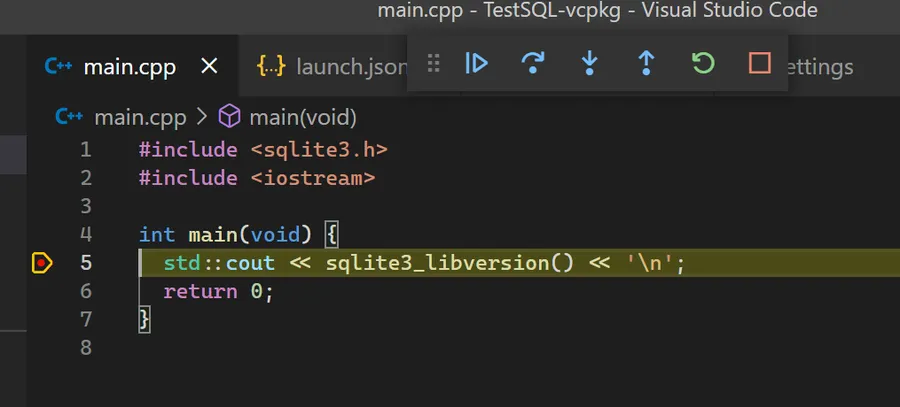
Press F5. If everything works as expected the program should stop on line 5. You should know what to do from this point 😁
Build a Release version
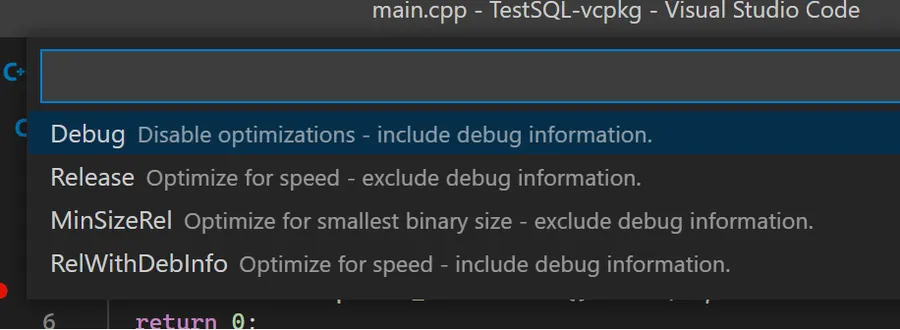
At the bottom of VSCode, click on CMake: [Debug]: Ready
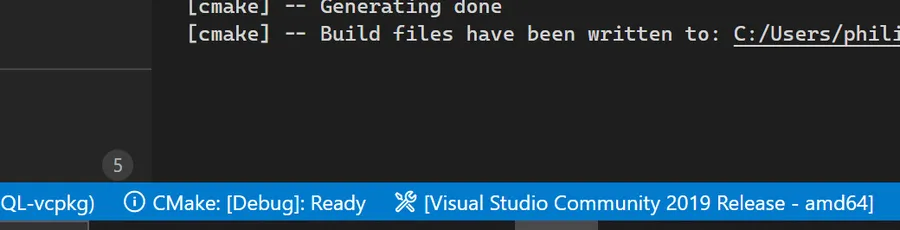
And select Release in the popup list.
Note
If you want to change the kit (Visual Studio 2019 Release - amd64 was our initial choice), at the bottom of the VS Code window, click on the status bar, and select another compiler kit. However, if you select Visual Studio 2019 Release - x86 for example, make sure that you have installed the corresponding lib using vcpkg. In our case, so far, we only have the x64 version of the lib and not the x86 version. You may also have to update the content of the CMakeLists.txt. Remember, so far, we wrote something like:
INCLUDE_DIRECTORIES(
  c:/Users/phili/Documents/vcpkg/installed/x64-windows/include/
)

LINK_DIRECTORIES(
  c:/Users/phili/Documents/vcpkg/installed/x64-windows/lib/
)
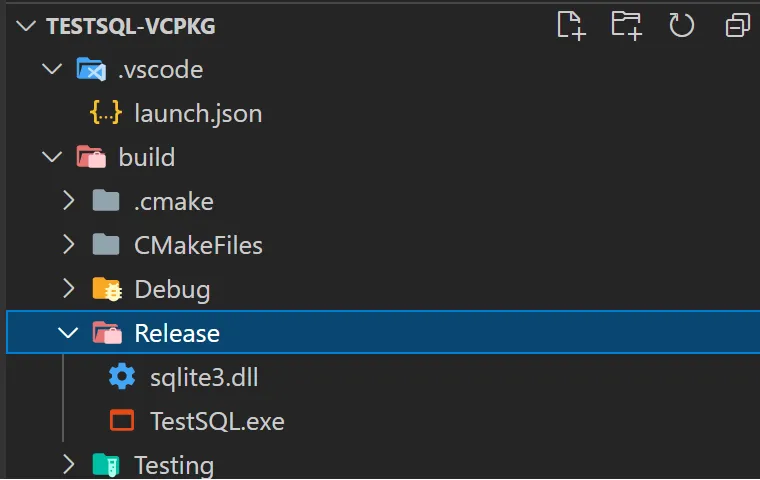
Anyway, press F7 to build the release version. At the end of the build, a Release directory with a brand new TestSQL.exe should be available.
On a french keyboard, strike CTRL + ù to open a new terminal and type the line below to run your application.
cd .\build\Release\
./TestSQL.exe
Conclusion
vcpkg is great. The integration in Visual Studio is even smoother than the one with VSCode. Whatever, vcpkg elegantly solve one of the most annoying developer’s tasks: getting libs and making sure they are quickly integrated with our compiling toolchain.
I hope this page will speed up your start with vcpkg and VSCode on Windows.